Patchbay Primer
Though it may seem arcane at first glance, a simple patchbay to connect all of your go-to studio devices can be an invaluable asset

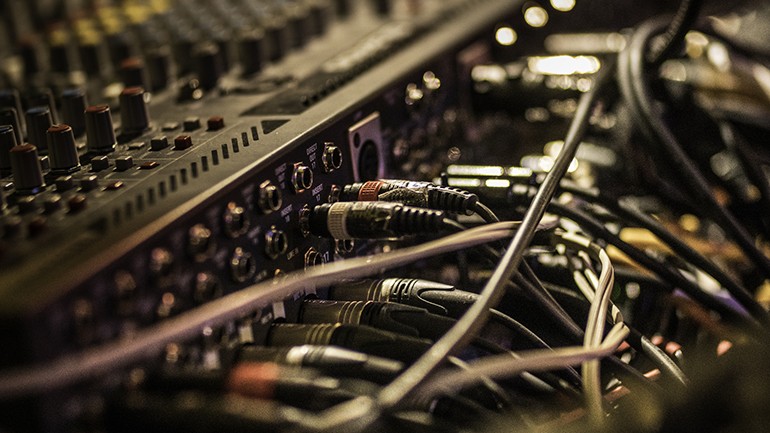
If you find yourself constantly plugging and unplugging cables in order to accommodate all of your recording apparatus, chances are you could benefit from having a central connection hub. In the audio business, that job is typically handled by a patchbay, one of those rare relics that hasn’t become obsolete over time. A patchbay might come in handy if you are routing multiple recorders to a single set of monitor speakers, sending microphone signals through a preamp or effects processor, or even bringing a direct feed from a bass amp or other DI device to the console.
For most home-studio operations, a basic patchbay will suffice—such units are usually under $100 and are equipped with 32- or 48-point TRS 1/4” connectors, each one allowing signal to pass from the back to the front for outputs, and the opposite for inputs. While it may seem arcane at first glance, when set up properly a simple patchbay can seriously streamline the recording process.
Patchbay basics
To get started, you would connect all of the designated outputs from your recorders, mp3 players and the like to the top row in the rear of the patchbay. Once you’ve got that set up, you then wire your input devices to the bottom row of the back panel. When doing so, consider which inputs/outputs are most often joined together—say, the output of a laptop to a dedicated stereo input channel on your mixer. Because the signal from a top output jack on the patchbay automatically flows downward to the corresponding input jack, connecting the two devices one on top of the other provides you with a “default” mode that requires no additional patching out front.
Of course, the whole idea behind a patchbay is the ability to move signals to and from other devices as needed, using a set of short 1/4” connecting cables plugged into the front of the unit.
For example: in my home studio I have two different digital recorders, one for cutting the raw tracks, the other an older unit that I use exclusively for editing and mastering the two-track mix. And because I’m still stubbornly old-school, from time to time I also run an ancient Otari two-track reel-to-reel tape machine for adding some warmth (and hiss) to the finalized master.
Because I may run all three during a session, I need an easy way to switch the main outputs on each machine to send to my Tannoy monitors. Without some kind of mechanism in place, I would have to pull the monitor cables from one recorder and then repatch to the other each time I alternated machines.
The solution? Rather than taking the feed from the recorder itself, we use a patchbay as a main hub—in other words, we run a pair of stereo output cables from each deck and attach them to the top row on the rear of the patchbay. We then take the monitor cables and plug them into a pair of jacks on the rear bottom row (or input section) of the patchbay. In the above example, I have the Otari tape recorder going to output jacks 11-12, the Roland mastering recorder to 13-14, and my main Tascam multitracker to 15-16. As the Tascam is the “default” machine, I’ve connected the Tannoy speakers to the bottom input pair 15-16 as well—that way I don’t have to change anything out front when using the Tascam (since, as we learned above, an output pair flows automatically to the input pair directly below it).
But let’s say I needed to quickly switch to the mastering deck to monitor a mix. All I do is take a pair of the short 1/4” patch cables, plug one set into the top-row channels 13-14 (from the mastering deck outputs), then the other into bottom-row channels 15-16 (from the Tannoy monitors). By doing so, I’ve interrupted the up-down signal flow on channel 15-16, so that the monitors now receive the output from the Roland mastering recorder instead.
Connection suggestions
Having a clean, easy-to-read front panel is essential to patchbay organization. Since all of your essential connections will now be in the rear of the patchbay, you’ll want to label each of the corresponding front jacks, so you’ll know instantly what’s going where. Some units have a small blank space between jacks for labeling; I place a strip of masking tape above each set of outputs/inputs and use permanent marker to indicate the name of the device.
You may also find it visually helpful using colored connecting cables for patching between various effects, recorders, and players. Whatever you choose, make sure your connectors are rugged (they’ll be getting a lot of use!) with enough length to cover all of the available channels.


Community
Connect with BMI & Professional Songwriters