Tips for Recording in a Small Space
Pressed for space? With the right type of microphones and proper positioning, it’s possible to get a surprisingly decent sound even out of a pint-sized room
Back in the day when tracks were few, you needed a big room with live players to get a good sound—hence the number of studios fashioned from abandoned churches, old factories and the like. The advent of big multitracking eventually took the room out of the equation, though, and today most of us can get by with little more than a laptop and a closet.
Which is fine for DIY overdubbing—but what happens when you want to cut a live (and possibly loud) group of players with all instruments, amplifiers, vocal monitors, etc, within inches of each other? Using the right combination of microphones, mic placement, direct-lining and instrument positioning, it is possible to have a final product that doesn't sound like complete chaos, even when working in a postage-stamp sized space.
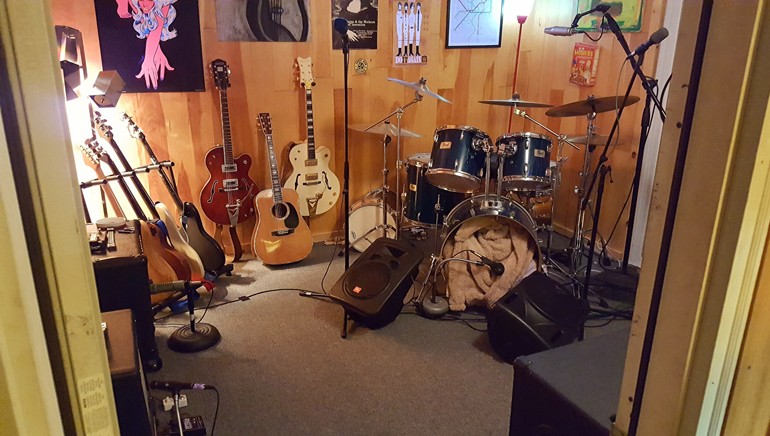
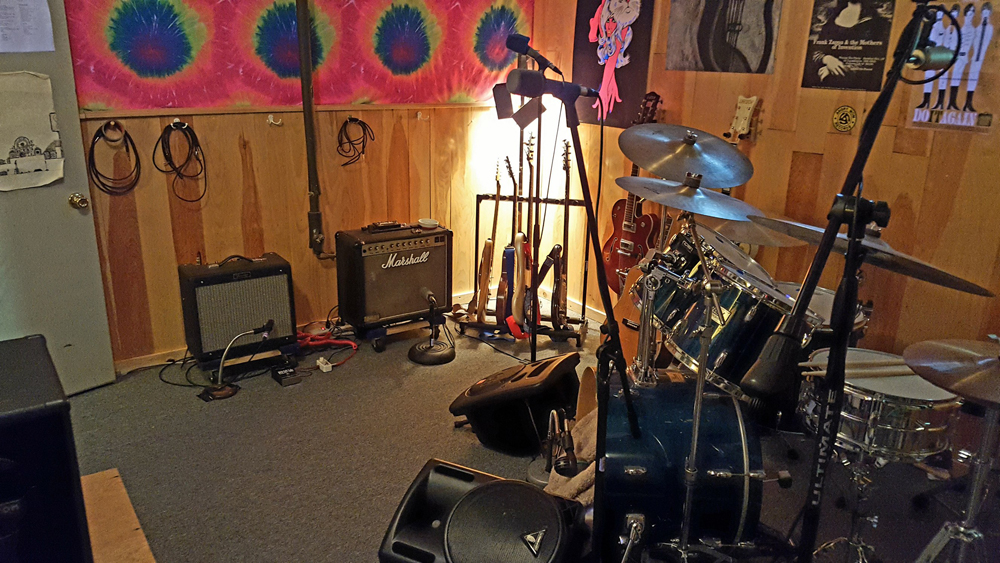
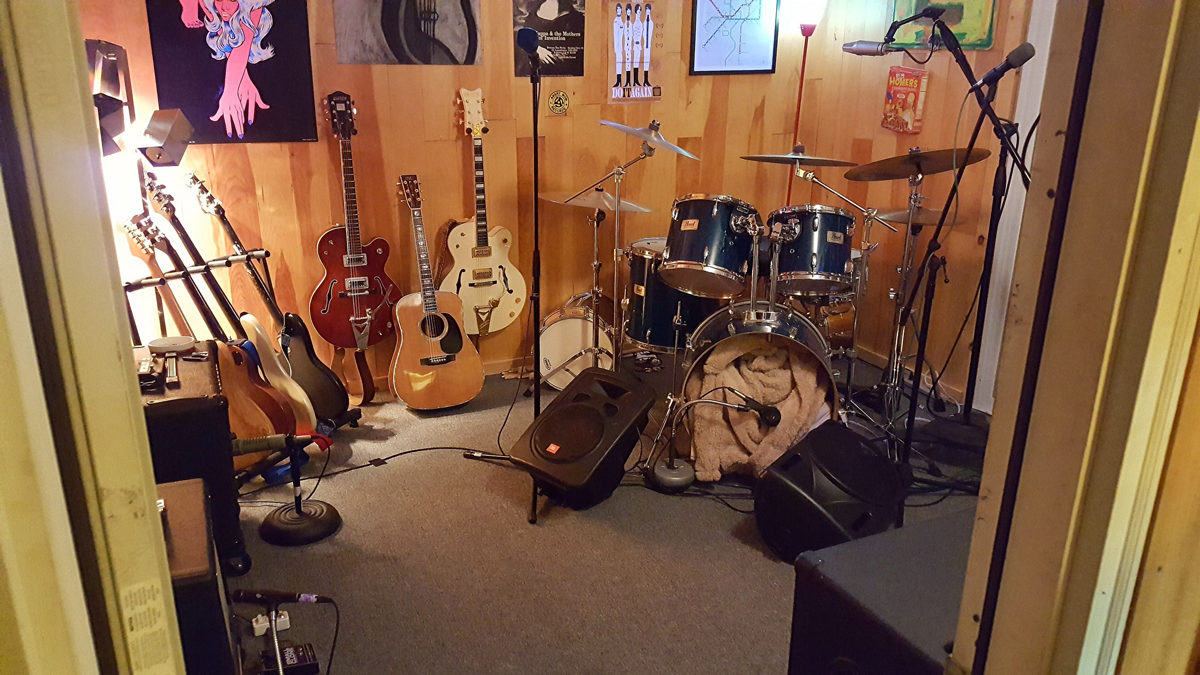
Such was the case a few weeks ago when I spontaneously decided to live-record a band rehearsal in the small (11x12) practice room that we normally use for tracking standalone drums or guitars. Rather than move everyone into the larger adjacent recording space, I just set up a bunch of mics, guessed at some levels, and off we went. Though not quite the same as when you have a bit more air to move, the results were nonetheless good enough to dispel any notions of needing a king-sized space to get decent live sound.
Choosing your mics
Our set-up included two electric guitars, bass and drums, plus a pair of vocal mics hooked into a small PA, with floor monitors for speakers. With that much sound pumped into such a teeny space, bleed is inevitable. Putting a few isolation screens in front of the amplifiers/drums might help deter leakage, but would only add more clutter to an already packed room. However, all we really need to do is create just enough sound separation to be able to control the individual recorded signals, while still maintaining the live feel of the performance.
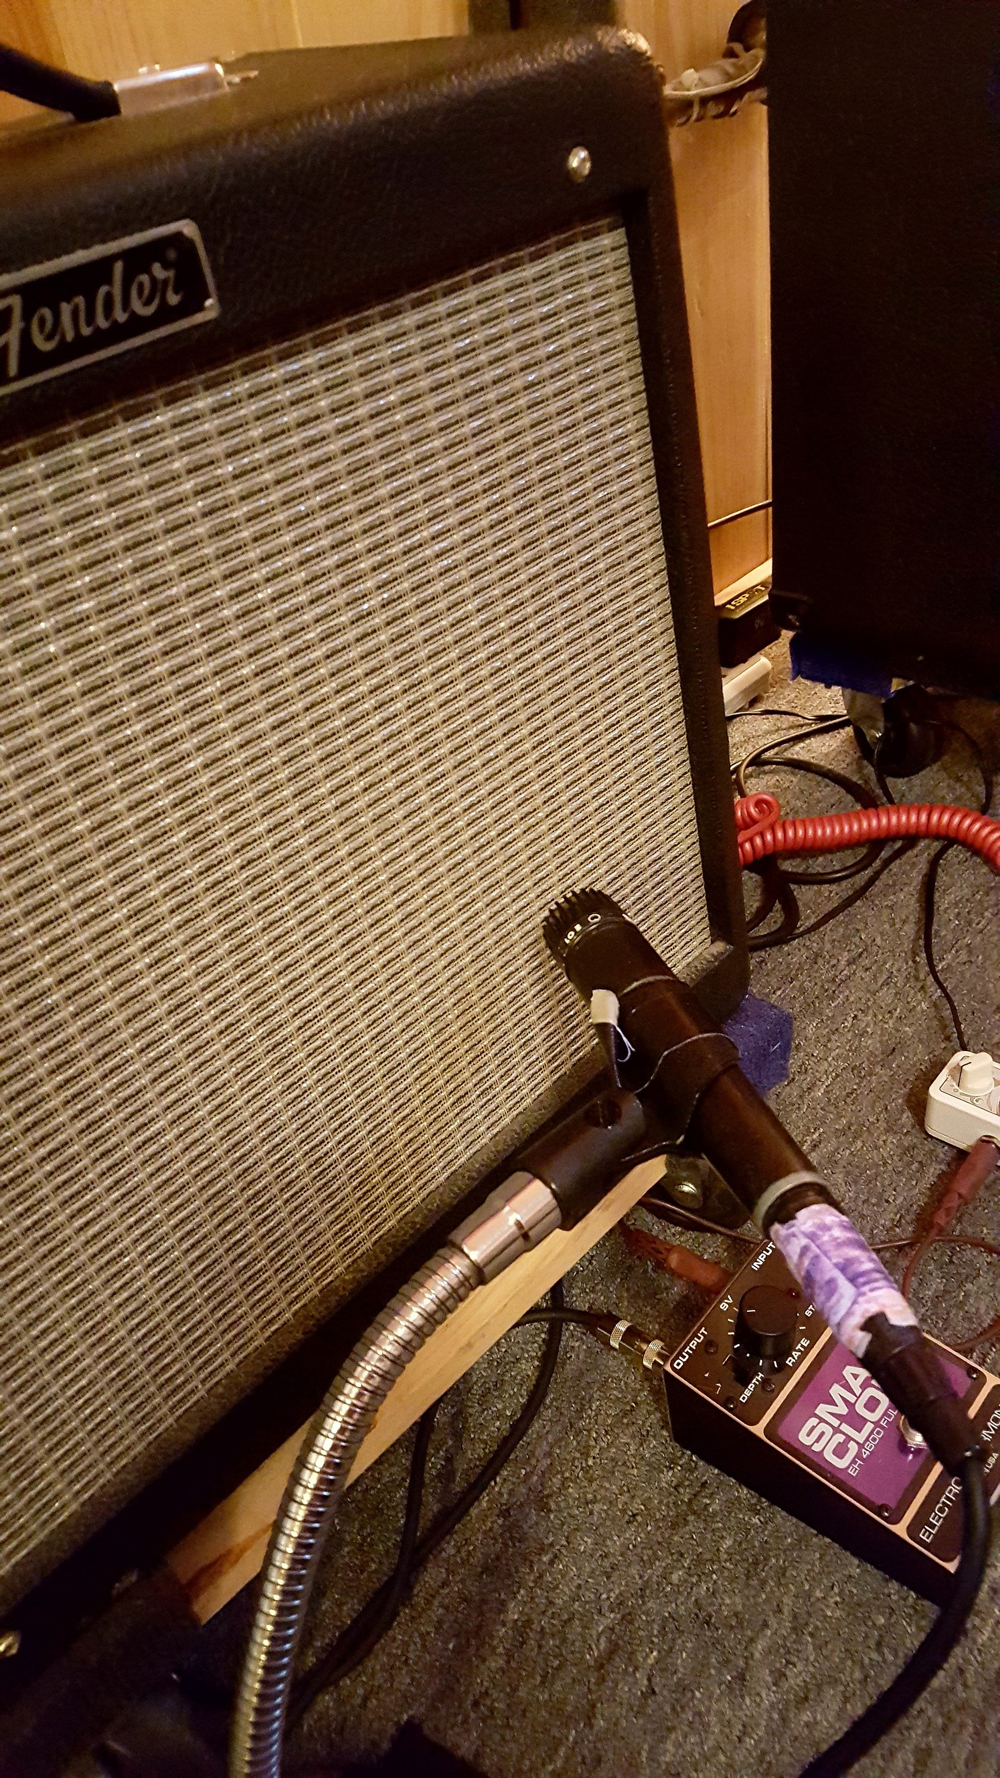
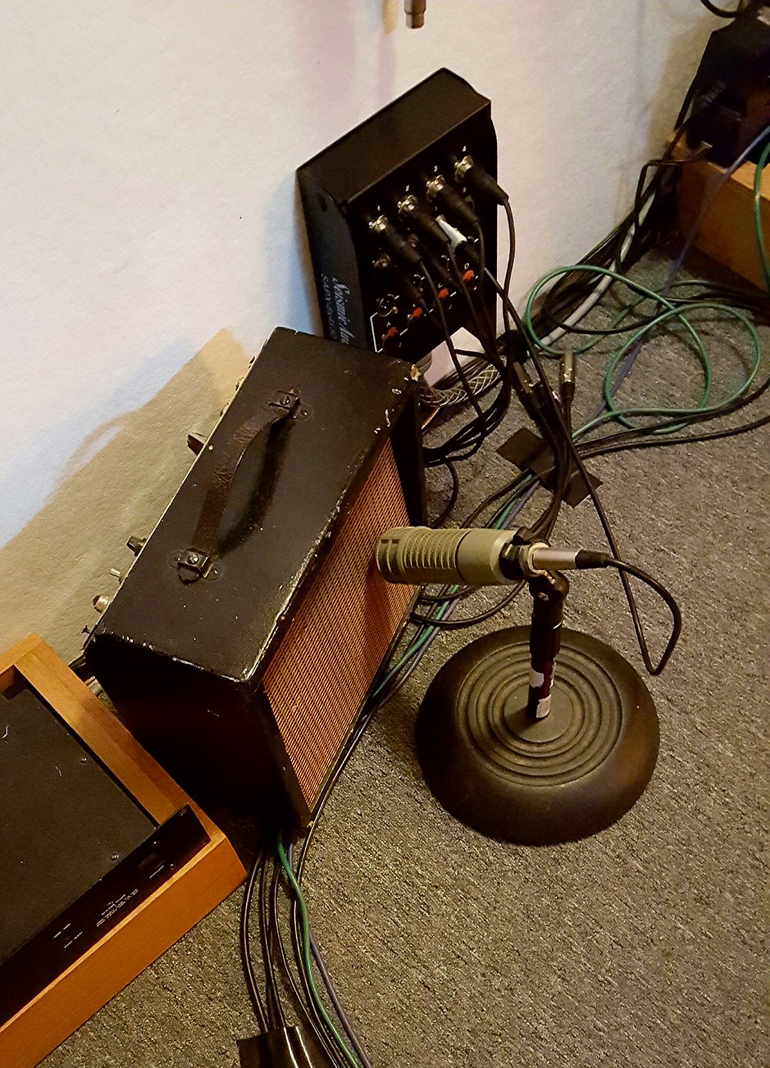
The first step is choosing the right set of microphones for the job, and arranging them properly. For the amplifiers, we want something that will accurately capture the sound of the guitar and little else around it—a directional dynamic mic such as a Shure SM57, for instance, has a very narrow pickup pattern that ensures you only hear what’s directly in front of it (mics of this ilk are said to have excellent “side rejection”). For the second amp we had an Electro Voice RE20, the rugged large-diaphragm broadcast dynamic mic typically used for vocals, but whose excellent noise rejection and added bass response makes it suitable for guitar cabs as well. For the best possible sound, place each mic an inch or two from the grille cloth, pointed slightly away from the center of the speaker cone (i.e., “off-axis”). Putting the amps at opposite sides of the room can help maximize separation, but isn’t totally necessary.
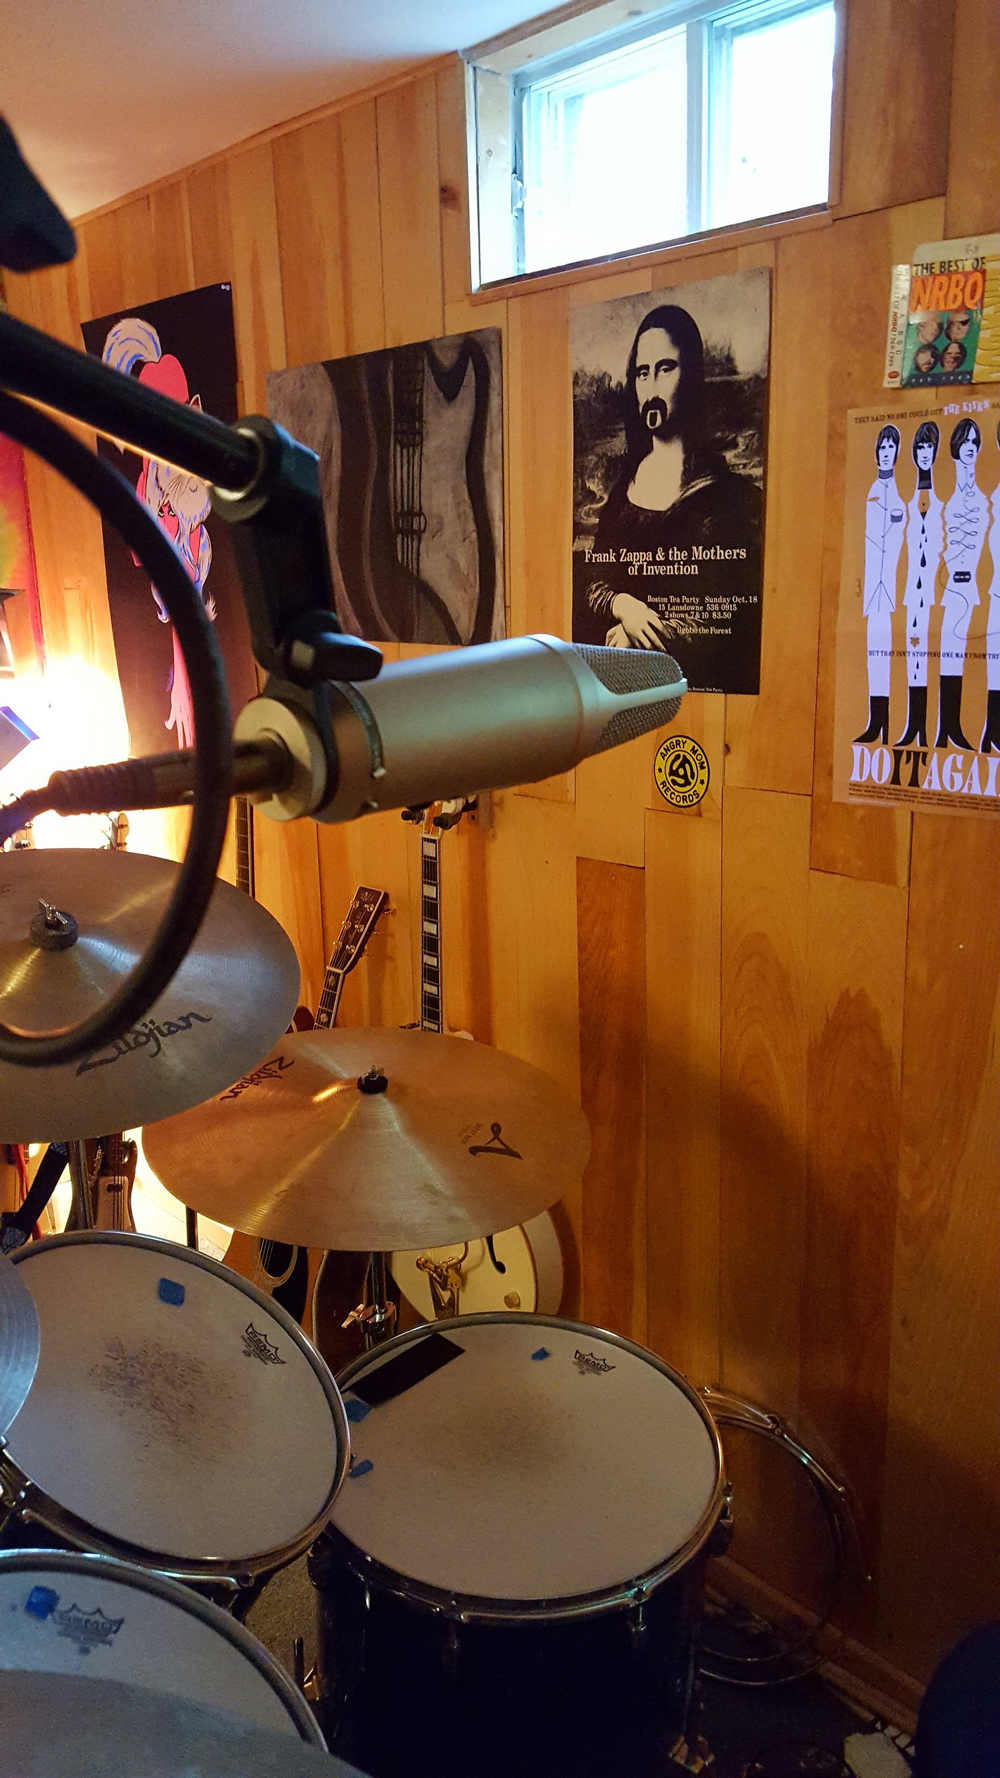
Using the directional approach for the drums would require a separate mic for snare, rack toms/floor toms, etc (and, theoretically, dedicated tracks as well). Instead, you could simply put up a single overhead, with a second mic for the bass drum (pointed directly at the beater) recorded to a separate track to ensure adequate blend with the bass when mixing. A good choice for the overhead would be a large-diaphragm condenser mic—in this case we used the always-reliable RØDE NT2-A —suspended several feet above the kit and slightly in front of the cymbals (to keep them from dominating in the mix), pointed down towards the snare and toms. Set the mic to cardioid mode, with the live side fully rotated away from the other instruments (this is particularly important when using a hotter mic, since too much room exposure will produce an overabundance of leakage). For the bass drum, ideally you’ll want a large-diaphragm dynamic mic such as the aforementioned EV RE20 or the industry standard AKG D112 (a.k.a. “the egg”), however even something as simple as a Shure SM58 will do.
Going direct
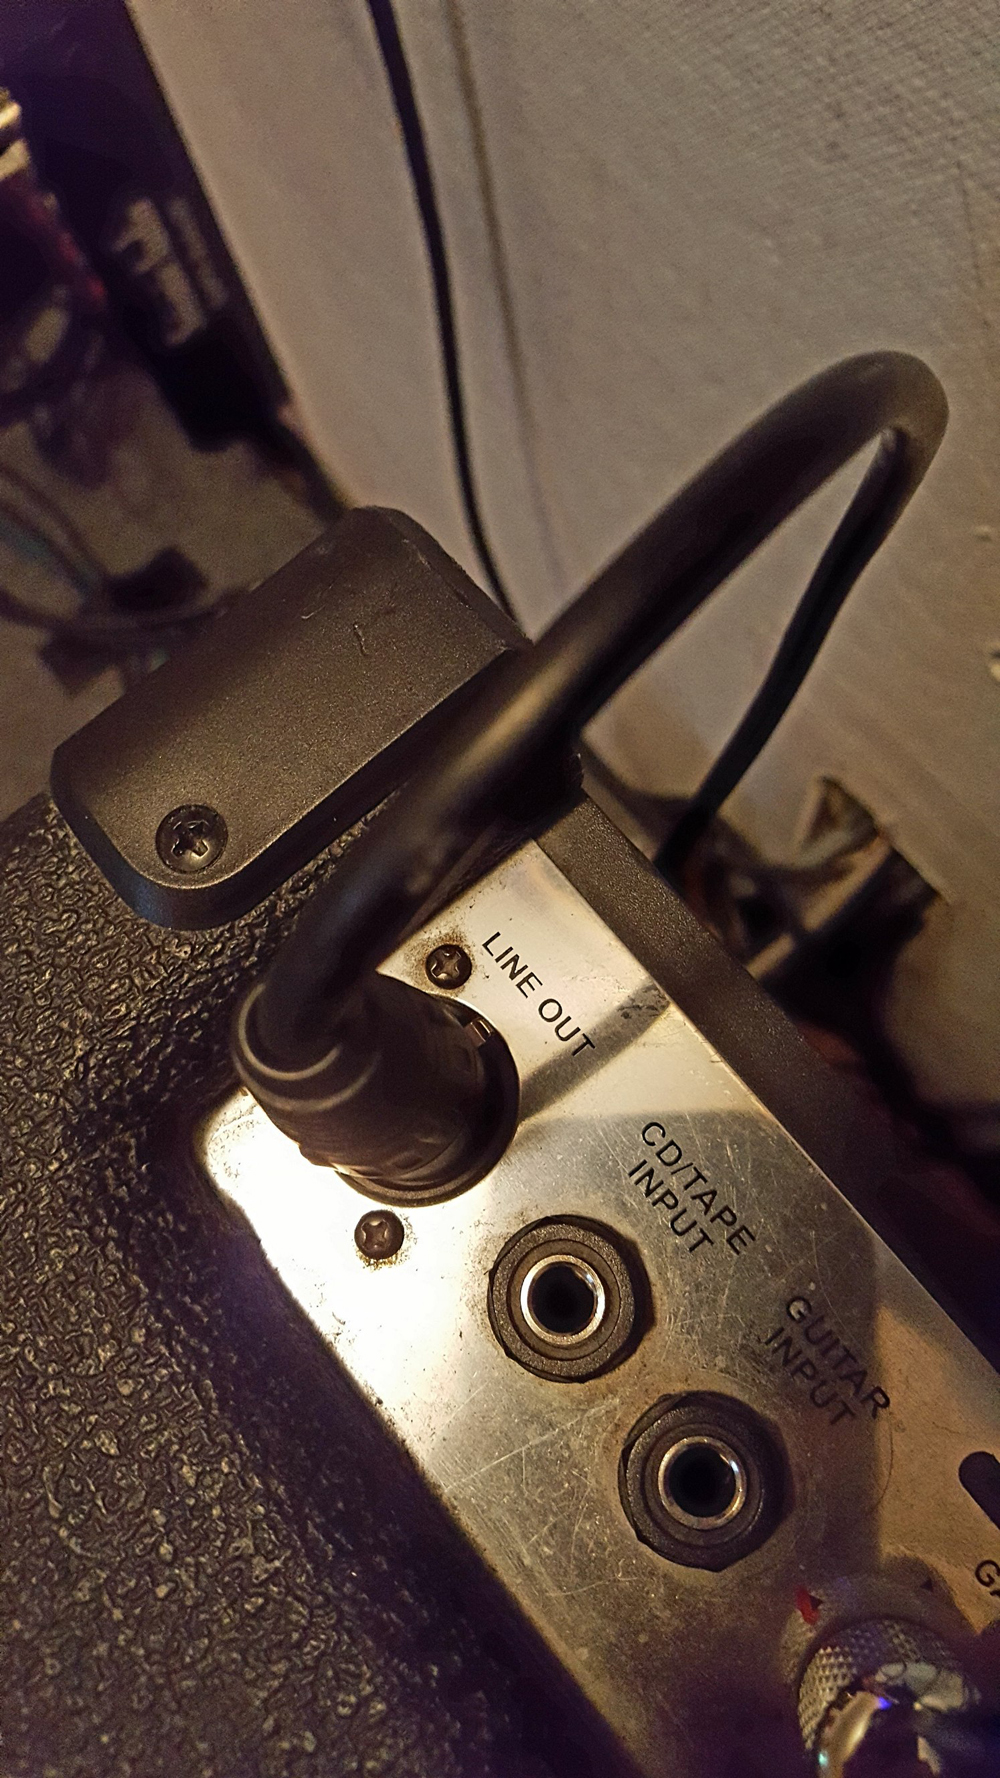
As you may know, many engineers prefer to record bass using a direct-injection box, or DI, often in combination with a miked speaker cabinet. Here’s where having a puny room comes in handy: instead of wiring up yet another microphone, you could just take the direct signal from the bass into the recorder (if you don’t have a dedicated DI box, you can always line straight out of the amp itself), then use the bleed from the bass amp into the nearby mics for the ambient sound.
The DI approach works for live vocals as well. Rather than running separate mics for both PA and recorded vocals, simply connect a cable from your PA mixer’s main outputs to an open track on your recorder. You can then adjust the “dry” vocal relative to the rest of the mix, while still having the live sound from the PA speakers as heard through the adjacent room mics. Since the direct signal from the PA is “post-fade” you won’t be able to adjust the individual levels after the fact, therefore make sure all vocal mics are properly balanced beforehand.
Final tips
Because a closet-sized space offers little in the way of real room sound (especially when stuffed with extra people and equipment), you may want to add a small amount of reverb or similar effect to the mix after the fact. Here again is where having everything just a few feet apart becomes an advantage: by putting some slapback delay on the vocal track only, for example, the bleed will result in just a hint of delay on the other instruments as well. Finally, using a limiter on a moderate setting at mixdown helps bond all the elements, and provides a bit of sheen as well.
By following the above steps, you too should be able to get a decent sound out of your own micro space, with just enough mic leakage to give the whole thing a nice live vibe and, with all instruments recorded to dedicated tracks, plenty of mix control as well.




Community
Connect with BMI & Professional Songwriters