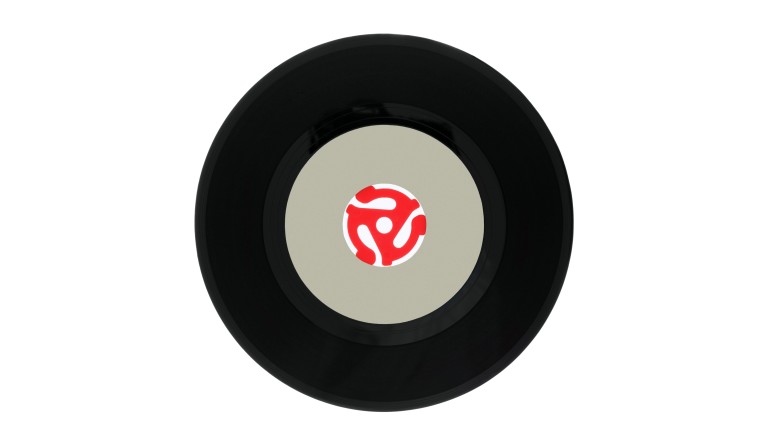
Vinyl 101: How to Make a Traditional Two-Sided Vinyl 45 Single

Given that we can all upload and distribute our music to any number of digital platforms quickly and cheaply, why even bother with a physical record anymore? Though it may seem antiquated, there are still plenty of music fans who want a tangible product (other than a cold compact disc, that is). Which may help explain why vinyl continues to stick around, long after it was supposedly doomed to extinction. For one thing, a vinyl platter offers ample space to create eye-catching cover and sleeve graphics, as well as readable recording notes/personnel data. And in addition to classic black, artists can choose from a variety of vinyl colors, adding to the record’s visual appeal.
There’s also the unique sonic character of a 7” single which, traditionally, tends to be “hotter” or more dynamic sounding compared to its long-playing counterparts. That’s because singles not only run faster than LPs—45 RPM, versus 33⅓—but, since each side contains just one song, can have grooves that are cut wider, theoretically allowing for more bass and greater overall volume.
I got to make an actual single with my band recently, and it was an intriguing experience, one that involved mixing and mastering specifically with vinyl in mind, not to mention choosing from a surprisingly long list of pressing companies in our region. Most of all, the whole process got me thinking about what it takes for a single song to click with the listening public.
Making a 45
While in today’s context a single could mean upwards of 3-4 tracks of any length, for our purposes we’ll use the standard two-sided vinyl format and include some of the protocols that hitmakers have observed for decades.
Choosing your tracks. For starters you’ll want a set of tunes that, ideally, sound like they should be on the radio (or at least have some kind of commercial appeal), designating as the ‘A’ side whichever track seems to have the edge in catchiness. Not that the artist always knows best—as it turns out the song I’d pegged for our B side ended up garnering the lion’s share of radio play.
Bringing the hooks. A riveting chorus that arrives early and repeats often (but not too often) is a prerequisite; a bridge or pre-chorus that contrasts musically with the verse keeps listeners engaged as well. But the real appeal comes from including as many “scene changes” as possible—this could include different types of guitars/guitar sounds (or piano or synth) strategically placed throughout the song, as well as percussion flourishes like tambourine or shakers to introduce a chorus or bridge section. Hand claps also work well on a subliminal level—if it sounds like the band is digging the song, why shouldn’t you?
Shorter = better. As we’ve noted before, some of the world’s best-loved singles barely broke the two-minute mark, the idea being the faster one can deliver the goods and get out, the better the chance of piquing listeners’ interest. As an example, our song “Count to 10” initially clocked in at around four minutes but was eventually whittled down to just 2:10. This was accomplished by excising almost two entire verses, as well as removing a guitar intro that allowed the lead vocal to start right at the top (another time-honored tactic).
With vinyl, there’s yet another incentive for keeping things concise: because sound tends to deteriorate as you get closer to the disc’s center (or “runout groove”), the shorter the song, the better the quality from start to finish.
Mixing for maximum impact. Always keep the vocals well above the fray—if you can’t hear the words due to an overwhelming rhythm track, you risk losing your audience in seconds. Also, since broadcasters already use it to maintain volume consistency, be careful when applying compression to your master in order to avoid excessive “pumping” during airplay.
When putting your music on vinyl, it is particularly important that the recording be properly equalized, since record cutters typically follow an industry standard EQ curve that essentially reduces bass while boosting the highs. Accordingly, keep a lid on high-frequency instruments such as hi-hats, shakers and the like (which can easily distort on vinyl if too prominent), while also ensuring that the bass isn’t flooding the mix.
Getting it pressed
Making a physical single is a bit of an investment, ranging anywhere from $500 to $1500 and up for a 45 RPM 7” disc, with costs varying depending on number of copies pressed, complexity of graphics, as well as extras like colored vinyl and dust jackets.
Because it is a multi-step process, when choosing a pressing plant be sure they can deliver your product within a reasonable time frame. A good company will give you ample opportunity to avoid any vinyl surprises, such as providing test pressings as well as sleeve and label proofs prior to beginning a print run.
Naturally whatever work you can do in house, the lower the overall expense. For example, the pressing plant we worked with offered basic templates that allowed us to upload front- and back-cover graphics as well as label artwork that we’d created ourselves using InDesign and similar software.
Vinyl thoughts
Like all things analog, making a vinyl single not only requires a love of the medium but a bit more time and effort (and definitely more funding) than the ubiquitous mix-it-and-stream-it method of music making. And admittedly, most of the airplay we subsequently received came courtesy of an mp3 simultaneously emailed to music directors in our midst. However, I’d like to think that the various trips we made to our targeted radio stations, shiny new 45s in hand, helped seal the deal.
Frankly, just dropping one of those 7” discs onto a spinning platter and hearing the songs emerge for the first time will always stick in my memory. Yes, it’s way easier to just upload some digital masters and be done with it, but with vinyl you get to experience what it’s like to actually go out and make a record. Even if you only do it once, it’s worth the trip.


Community
Connect with BMI & Professional Songwriters