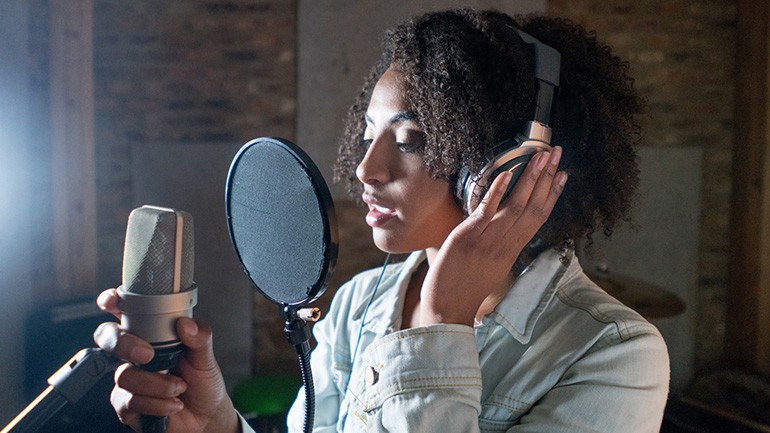
Vocal Recording Revisited
From swapping mics to changing rooms, some tried-and-true solutions for achieving vocal-track excellence

There are many different approaches to recording vocals, and how you go about it might be determined by any number of factors—the type of song you’re working on, the kind of microphone you’re using, even the shape of your recording space.
Determining which strategy works best is often a matter of trial and error, keeping in mind that an approach you tried on a previous project may not be suitable this time out. Of course, half the fun is just going through the paces—experimenting with various mic models, adjusting the proximity of the singer to the microphone, trying out different rooms, plus a host of other variables, any one of which could have an outsized impact on your finished product.
Mic matters. In a recent column we extolled the virtues of the large-diaphragm condenser microphone, a model that has far and away been the leading choice for capturing vocals for over a half century. That doesn’t necessarily require that you have a Neumann U87 (or suitable clone) every time out. If, for instance, you want a vocal tone that isn’t quite as round as what a condenser might provide (especially when singing up close), you might try substituting a good dynamic mic such as the venerable old Electro Voice RE20 (a longtime favorite among broadcasters), or even a basic stage model like AKG’s D5 or Shure SM57 or 58.
When it comes to suspending the mic, as well as distance from the singer to the diaphragm, opinions can vary; while many put the mic precisely at mouth level atop a sturdy boom stand, some pros opt instead to hang the mic upside down from an elevated boom arm and pointed down towards the singer’s forehead in order to achieve a less direct, roomier tone.
That said, most singers prefer the more intimate sound that occurs when standing just a few inches from the windscreen or pop filter (due to the so-called “proximity effect”). Be careful, though—too close and the vocal may end up sounding muddy, and you can also run afoul of ‘p’ pops and other sibilance issues.
Effect check. One can never get enough practice working with a compressor when tracking vocals. That’s because compression reacts differently depending on the loudness of the singer, the hotness of the microphone, plus other variables. No matter the circumstances, when recording one should only use enough effect to keep the peaks in check (by lightly limiting, rather than full-on compressing, the signal). Though compression can be used to achieve a more present or aggressive vocal sound, save it for the mix stage; too much effect while tracking can easily rob your performance of precious dynamics (and any additional limiting at mixdown will only exacerbate the problem).
The easy-does-it rule applies to other types of processing as well. As we’ve mentioned before, reverb or echo is often a necessary enhancement when working in an overly dry space, however, take care not to go overboard or your vocal will easily lose definition. One way to prevent this is to add a sufficient amount of pre-delay to the effect’s return, thereby creating an audible separation between the dry and wet signals. (Also remember that you can simply feed the effect to the singer’s headphones without actually “printing” it while recording.)
Make it comfy. There’s also something to be said for having a relaxed, efficient workspace. Ambience is a good place to start—a basic dimmer switch as well as some low-watt colored lighting will help set the mood for those who prefer a more subdued environment. Keep a music stand handy to hold a lyric sheet if needed (situated directly behind the microphone and facing the singer at head level). Ensure you have an ample water supply, as hydration is key to keeping vocal cords supple during extended tracking sessions. And don’t forget a tall stool or height-adjustable chair for those between-take breaks.


Community
Connect with BMI & Professional Songwriters